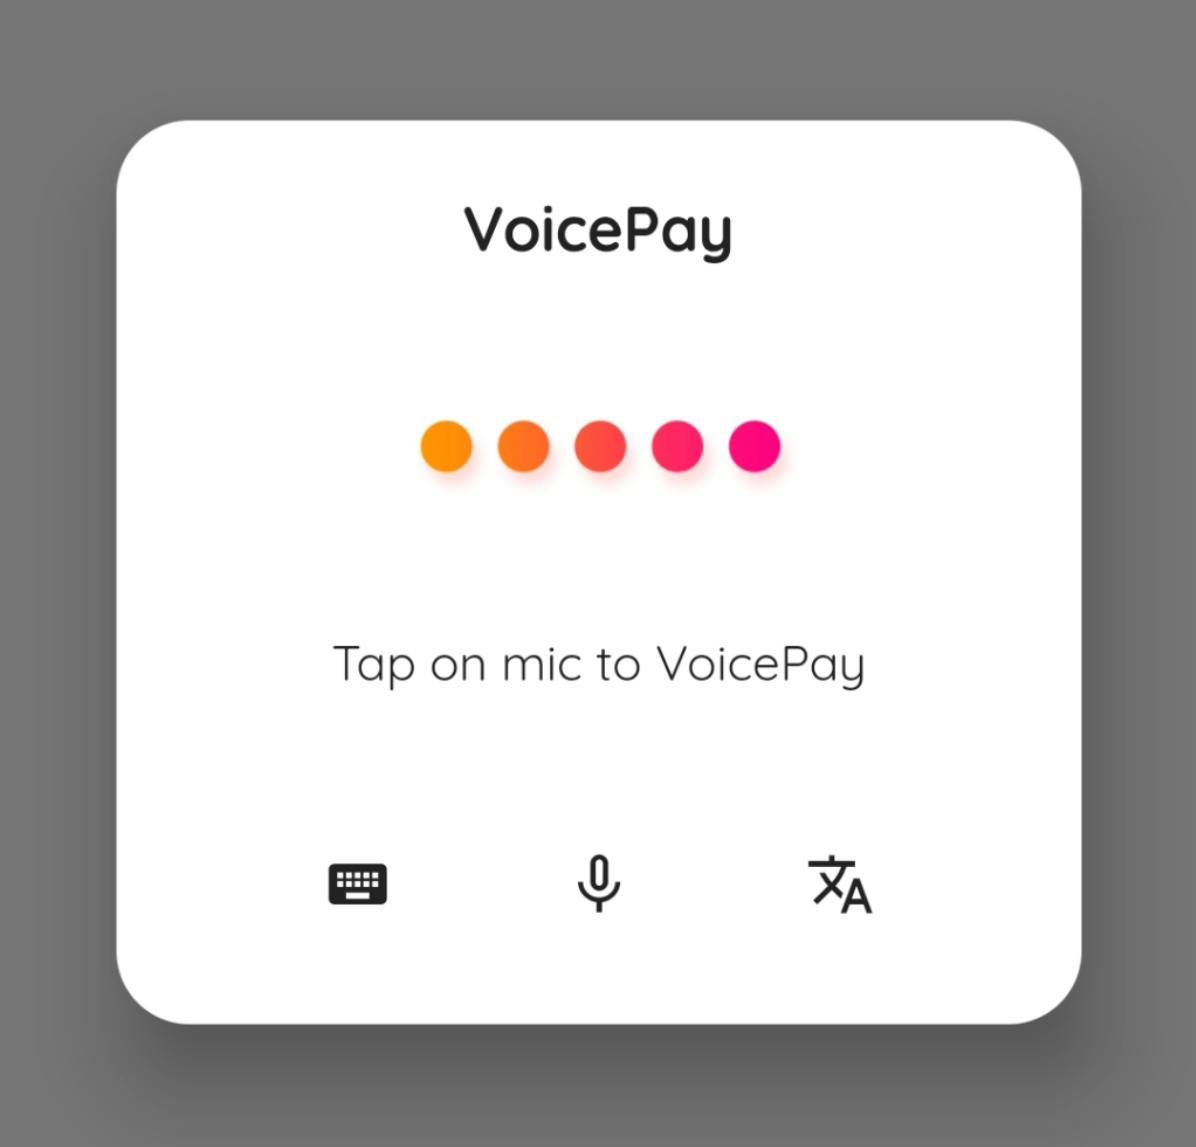
The AlertDialog is basically a Popup in Flutter. Whenever you want to create a floating box that is centered on the page, you can simply use an AlertDialog. The implementation of the same is very easy and has been provided in-built with Flutter SDK. So, let's dive in… 👻
What you’ll build?
In this tutorial, you’ll build a mobile app featuring an AlertDialog / Popup in Flutter. The AlertDialog will have the following features:
- Animated loader GIF
- Customized actions buttons
- Curved Edges

This tutorial focuses on adding an AlertDialog to the Flutter app. Non-relevant concepts and code blocks are glossed over and are provided for you to simply copy and paste.
GitHub Profile | ShivamGoyal1899
Setting up Flutter on your machine
The detailed steps to install Flutter on your personal computer & getting started with Flutter is available in the following blog post
AlertDialog constructor
Downloading Assets
Download the GIF by right-clicking, and saving it as listening.gif at /{%PROJECTROOT%}/assets/images/listening.gif

Credits: Bendt on Pinterest
Importing Assets
Import the GIF to your project by adding the file path to your pubspec.yaml file.
Putting Code in action
Create a file named voicePayDialog.dart in the same directory as of your main.dart file and amend the file with the following code:
To show the AlertDialog / Popup add the following code to onPressed or onTap parameter of any button in your main.dart file:
Remember to import
voicePayDialog.dartinmain.dart
Building & running the application
- Connect your Emulator or physical Android device to test the application.
- Click on Build & Run.
- And Boooom 🧨, your app is ready to launch.
Congratulations!
You have completed this tutorial and have built a Flutter app with an AlertDialog! Also, in the meantime, you integrated GIFs in the App.
